The Best Garbage Disposal Maintenance Tips to Keep Your Kitchen Smelling Fresh
Your garbage disposal works hard every day. These proven maintenance tips prevent odors, jams, and expensive repairs while keeping your Pasco County, FL kitchen fresh and functional.
Summary:
Why Garbage Disposals Develop Odors and Stop Working
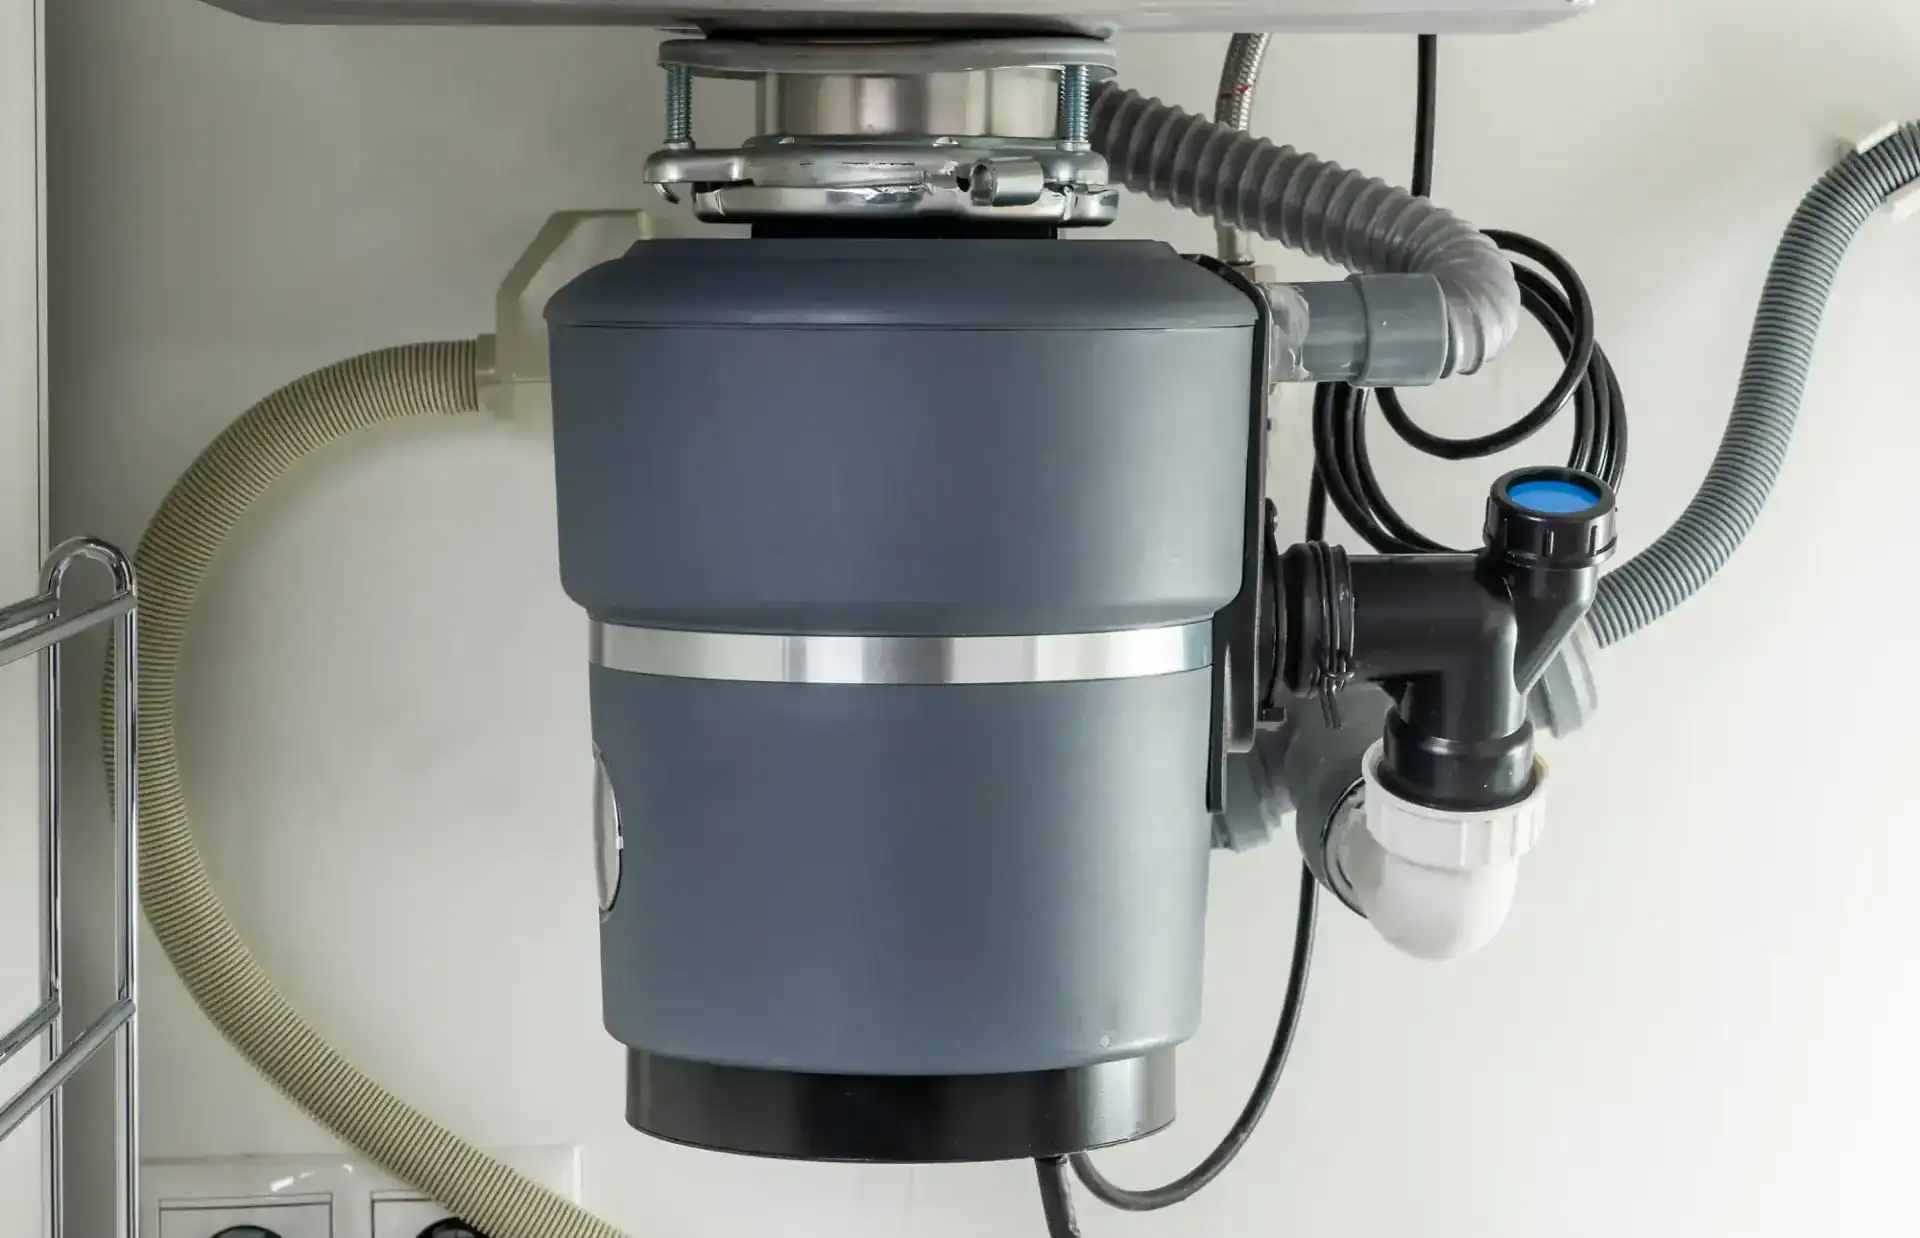
Your disposal grinds food into small pieces that wash down the drain with water. But not everything makes it through. Small fragments stick to the blades, splash guard, and inside walls of the grinding chamber. These trapped particles start decomposing within hours, creating that sour smell you notice when dishes pile up.
Grease multiplies the problem. When you rinse greasy plates or pour any amount of oil down the drain, it coats everything inside your disposal and drain pipes. That sticky film catches more food particles, and the cycle continues. In Pasco County, FL homes built before 2000, this becomes critical because original plumbing systems weren’t designed for modern garbage disposals and today’s heavy use.
Florida’s hard water adds another complication. Mineral deposits accumulate alongside food residue, creating crusty buildup that’s harder to remove than food alone. The combination of decomposing food, grease, bacteria, and minerals is what creates those stubborn odors that regular water flow can’t wash away.
What Foods Damage Your Garbage Disposal
Not all food scraps belong in your disposal. Some items seem harmless but cause jams, dull blades, or create clogs further down your drain line. Knowing which foods to keep out of your disposal prevents most problems before they start.
Fibrous vegetables are disposal killers. Celery stalks, corn husks, asparagus ends, and onion skins have long strings that wrap around the blades like thread on a spool. Once wrapped, these fibers prevent the blades from spinning freely. The motor keeps running, making that humming sound, but nothing grinds. This strains the motor until it burns out completely.
Starchy foods create paste that clogs pipes. Potato peels, pasta, rice, and bread absorb water and form a thick substance that sticks to your pipes. This paste doesn’t wash away with hot water. Instead, it builds up gradually until water drains slowly or backs up into your sink.
Grease, oil, and fat destroy your drain system. When grease hits your cold drain pipes, it solidifies and sticks to the walls. Each time you add more, the layer gets thicker. Eventually, it narrows the pipe opening so much that water barely passes through. This is the number one cause of kitchen drain clogs in Pasco County, FL homes.
Hard items break your disposal’s grinding mechanism. Bones, fruit pits, shells, and anything made of metal or glass can damage the blades or jam the flywheel. If something hard falls into your disposal by accident, turn off the power immediately and remove it with tongs—never put your hand inside the unit.
Coffee grounds and eggshells seem small and harmless, but they cause problems. Coffee grounds clump together when wet and settle in your pipes like sediment. Eggshell membranes wrap around blades, and the shell fragments contribute to buildup in your drain line. Despite what you might have heard, eggshells don’t sharpen disposal blades—they just create more problems.
How Often to Clean Your Garbage Disposal
Cleaning frequency depends on how much you use your disposal. If you cook at home daily and run the disposal after most meals, weekly cleaning prevents odor and buildup. For lighter use—maybe a few times per week—cleaning every two weeks works fine. Monthly cleaning is the bare minimum, and you’ll likely notice smells developing between cleanings.
Consistency beats perfection. If you commit to cleaning once a week, that regular maintenance prevents the kind of buildup that causes bigger problems. Missing one cleaning isn’t a disaster, but skipping weeks at a time leads to issues that take more effort to fix.
Pay attention to early warning signs. If you notice even a slight odor before your next scheduled cleaning, that’s your signal to clean more frequently. The same goes if water drains more slowly than usual or if you hear the disposal working harder than normal. These early signs mean buildup is starting, and addressing it immediately prevents it from becoming a real problem.
Pasco County, FL homes built before 2000 need more frequent attention. Aging plumbing systems and Florida’s hard water create conditions where small problems become big issues quickly. Original cast iron or clay pipes common in these older homes are more prone to buildup and corrosion. For older homes, weekly disposal cleaning isn’t optional—it’s necessary maintenance that protects your entire drain system.
Holiday cooking puts extra stress on your disposal. If you’re hosting Thanksgiving dinner or having family visit for a week, clean your disposal before they arrive and again after they leave. The increased volume of food waste during these times can overwhelm a disposal that hasn’t been maintained, leading to clogs or jams at the worst possible moment.
Don’t wait for problems before starting a maintenance routine. Once odors become strong or clogs form, you’re dealing with accumulated buildup that takes more effort to remove. Starting a regular cleaning schedule now—even if your disposal seems fine—prevents those problems from ever developing.
Want live answers?
Connect with a ATA's Plumbing expert for fast, friendly support.
Natural Garbage Disposal Cleaning Methods That Actually Work
You don’t need harsh chemicals to keep your disposal clean and fresh. Simple household items work just as well without damaging your pipes or disposal components. These natural methods are safe, effective, and cost almost nothing because you probably already have everything you need.
The key is using methods that remove buildup rather than just masking odors temporarily. Spraying air freshener near your sink doesn’t solve anything. Real cleaning means breaking down grease, scrubbing away stuck food particles, and killing the bacteria that cause smells. These approaches do exactly that.
Ice and Salt Deep Cleaning Method
Ice cubes and rock salt work together to scrub your disposal clean from the inside. The ice acts like an abrasive that scours the blades and grinding chamber walls, while the salt provides extra scrubbing power and helps break down grease. This method removes buildup you can’t see or reach.
Fill your disposal about halfway with ice cubes from your freezer. Use regular-sized cubes, not the large ones that could jam the mechanism. Add two tablespoons of coarse rock salt or kosher salt on top of the ice. Table salt works, but coarser salt provides better scrubbing action.
Turn on the cold water to a moderate flow—not full blast, but enough to keep things moving. Flip the disposal switch and let it run until all the ice is completely ground up. You’ll hear the sound change from crunching to a normal running sound when the ice is gone. Keep the water running for another 30 seconds after the grinding stops to flush everything through.
The ice method works because frozen water is hard enough to knock off stuck food and grease but melts before it can damage anything. As the blades spin, the ice cubes bounce around inside the grinding chamber, hitting all the surfaces and scraping away buildup. The salt dissolves slowly, creating a slightly abrasive slurry that enhances the cleaning action.
Use this method weekly if you use your disposal daily, or every two weeks for lighter use. It’s especially helpful after you’ve accidentally put something greasy down the drain or if you notice your disposal isn’t draining as quickly as usual. The ice and salt method is also a good first step if you’re noticing mild odors starting to develop.
For extra freshness, add citrus peels to the ice before grinding. Cut a lemon, lime, or orange into quarters and drop a few pieces in with the ice and salt. The citrus oils naturally deodorize while the peels provide additional scrubbing. The result is a clean disposal that smells fresh instead of like old food.
Baking Soda and Vinegar Odor Elimination
Baking soda and white vinegar create a chemical reaction that breaks down grime and neutralizes odors naturally. This combination is gentle enough to use regularly but powerful enough to handle most disposal odors and light buildup. Reach for this method when your disposal smells but isn’t clogged or jammed.
Pour half a cup of baking soda directly into the disposal drain. Don’t run the water yet—you want the baking soda to sit in the disposal and coat all the surfaces. Let it sit for a minute so it starts absorbing odors and breaking down any grease on contact.
Next, pour one cup of white vinegar into the disposal. The mixture will immediately start fizzing and bubbling. This reaction is what you want—it means the vinegar is reacting with the baking soda to create a cleaning action that reaches all the nooks and crannies inside your disposal. The fizzing loosens stuck food particles and breaks down the biofilm where bacteria grow.
Let this mixture work for 10 to 15 minutes. During this time, the fizzing continues, and the combination of baking soda’s mild abrasiveness and vinegar’s acidity breaks down organic material and neutralizes odor-causing bacteria. Don’t run the disposal or water during this waiting period. Just let the chemistry do its work.
After 15 minutes, turn on hot water and let it run for 30 seconds before turning on the disposal. Run the disposal for another 30 seconds while the hot water continues flowing. This flushes away all the loosened debris and residue, leaving your disposal clean and odor-free.
This method is safe to use weekly or even more often if needed. Unlike chemical drain cleaners that corrode pipes and damage disposal components, baking soda and vinegar won’t harm anything. The ingredients are food-safe, so there’s no concern about chemical residue in your kitchen.
If odors persist after one treatment, repeat the process. Sometimes stubborn smells require a second application to fully eliminate the source. You can also combine this method with the ice and salt approach—use ice and salt first for physical scrubbing, then follow up with baking soda and vinegar for chemical cleaning and deodorizing.
For ongoing maintenance, keep a box of baking soda and a bottle of white vinegar under your sink. Having them readily available makes it easy to clean your disposal regularly without needing to buy special products or remember to pick something up at the store. Simple, effective maintenance doesn’t require complicated solutions—just consistent attention using what you already have.
Customer Testimonials
Protecting Your Pasco County, FL Kitchen Investment
Regular garbage disposal maintenance prevents most problems before they start. Weekly cleaning with ice and salt or baking soda and vinegar takes just minutes but saves you from foul odors, jammed units, and expensive emergency repairs. Avoiding problematic foods—especially fibrous vegetables, grease, and starchy items—protects both your disposal and your drain pipes.
For Pasco County, FL homes built before 2000, this maintenance isn’t optional. Aging plumbing systems and Florida’s hard water create conditions where small problems become big issues quickly. Consistent care protects your home investment and keeps your kitchen functioning smoothly.
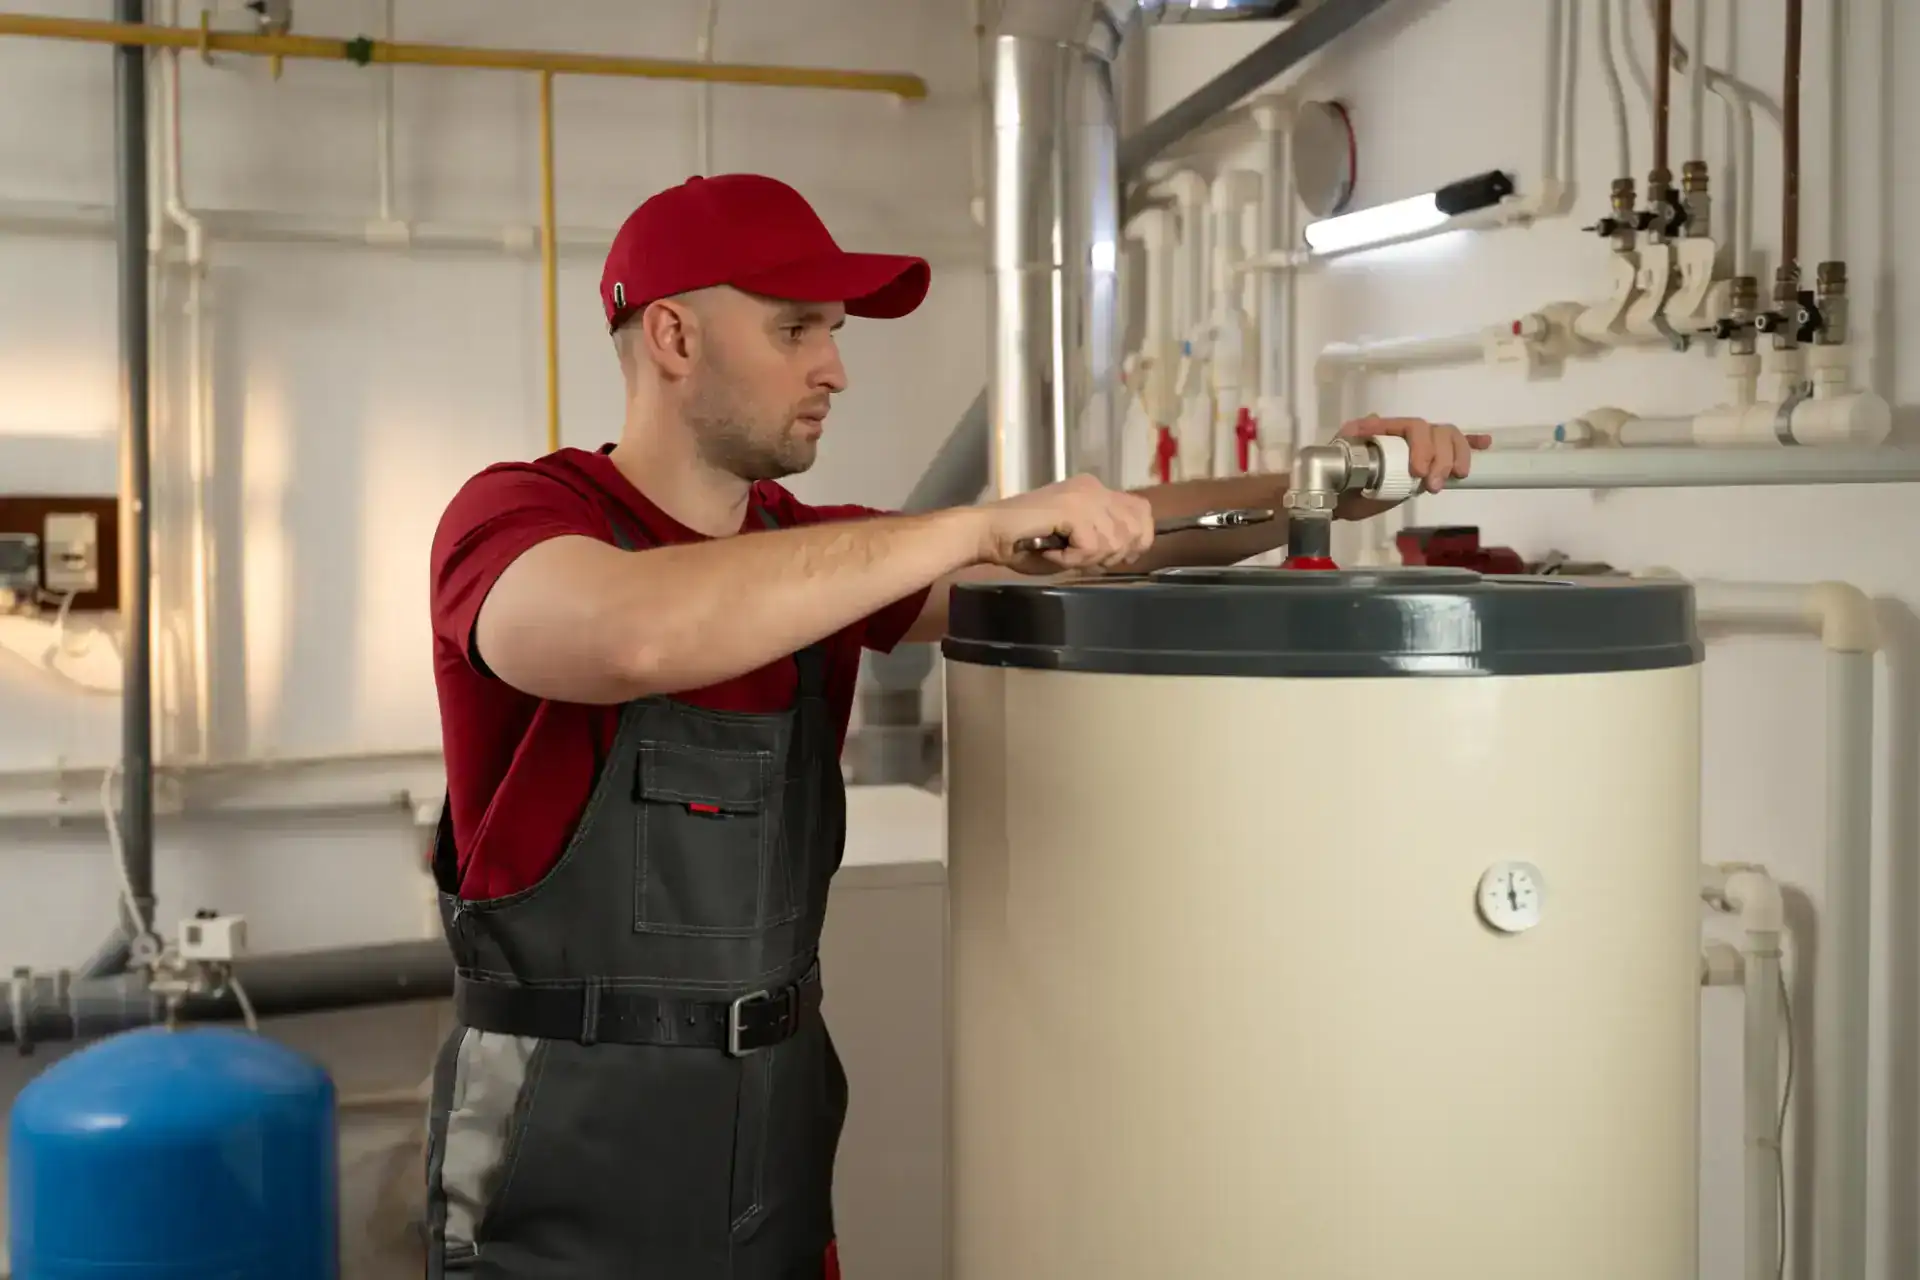
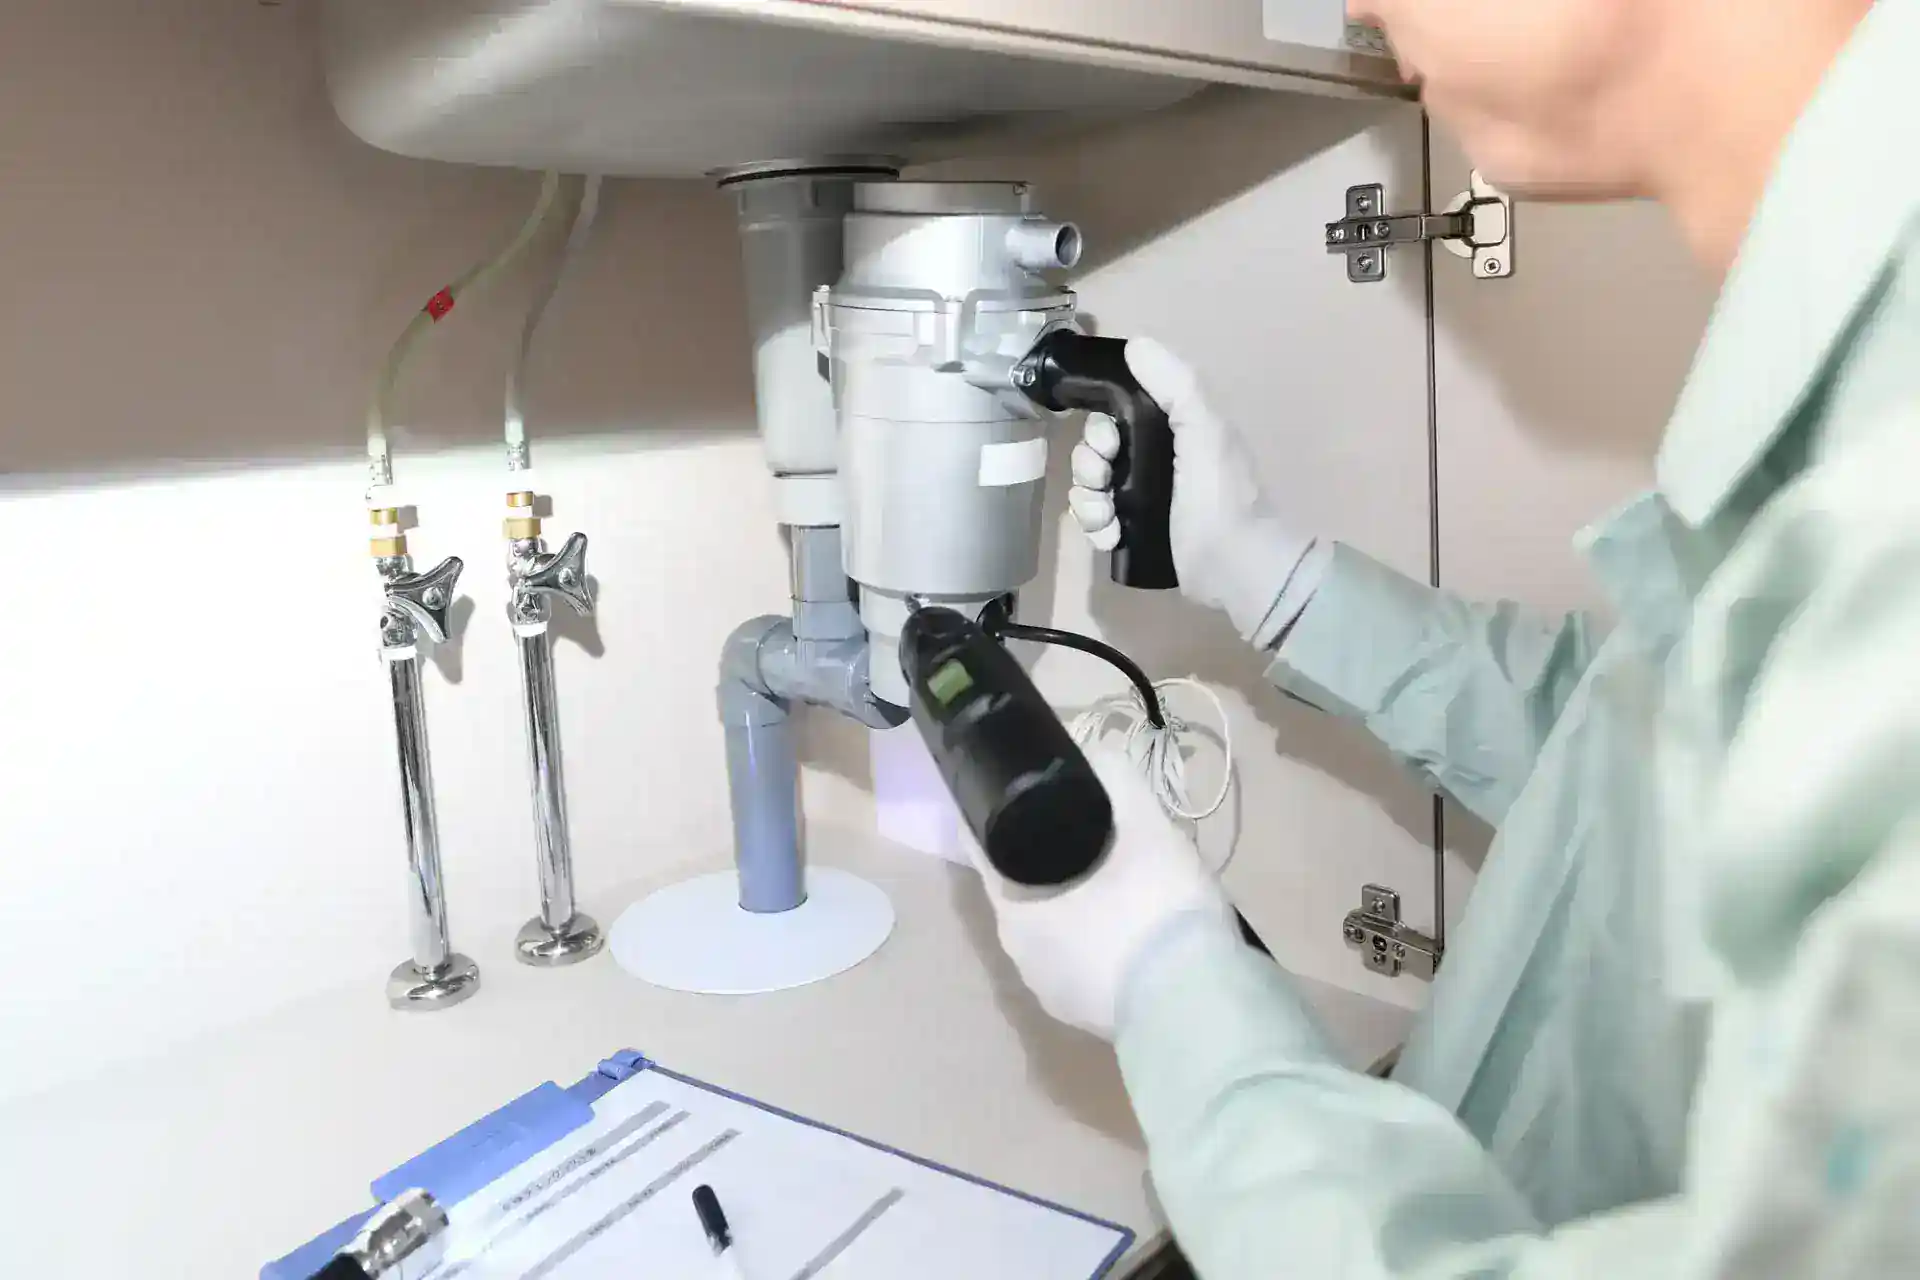
If you’re dealing with persistent odors, slow drainage, leaks, or a disposal that hums but won’t grind, professional help is the right call. Sometimes problems go deeper than surface cleaning can fix, and trying to force a solution causes more damage. We understand the unique challenges of Pasco County, FL’s older homes and provide honest, transparent service that fixes problems right the first time.
Article details:
- Published by:
- Published to:
- Last modified:
- March 18, 2026
Continue learning: