How to Test and Adjust Your Water Pressure Regulator (A Simple Homeowner DIY Check)
Simple step-by-step guide for testing your water pressure regulator using basic tools to prevent costly damage and ensure optimal home water pressure.

Summary:
Understanding Your Water Pressure Regulator and Why Testing Matters
Your pressure reducing valve (PRV) decreases incoming water pressure into your home, and while high water pressure might seem positive, most homes should have a maximum PSI of 75 with anything above being detrimental to comfort and your home. Think of it as a guardian for your plumbing system. Normal operating pressure runs 60-65 PSI, which is more comfortable and better suited for your home’s infrastructure.
In homes, PRVs control pressure from municipal lines, protecting household appliances and reducing leak risks by preventing pipe bursts and significantly reducing water wastage. Without proper regulation, your dishwasher, washing machine, and water heater face unnecessary strain that shortens their lifespan. It’s not dramatic—it’s simple physics working against your wallet.

Signs Your Pressure Regulator Needs Testing
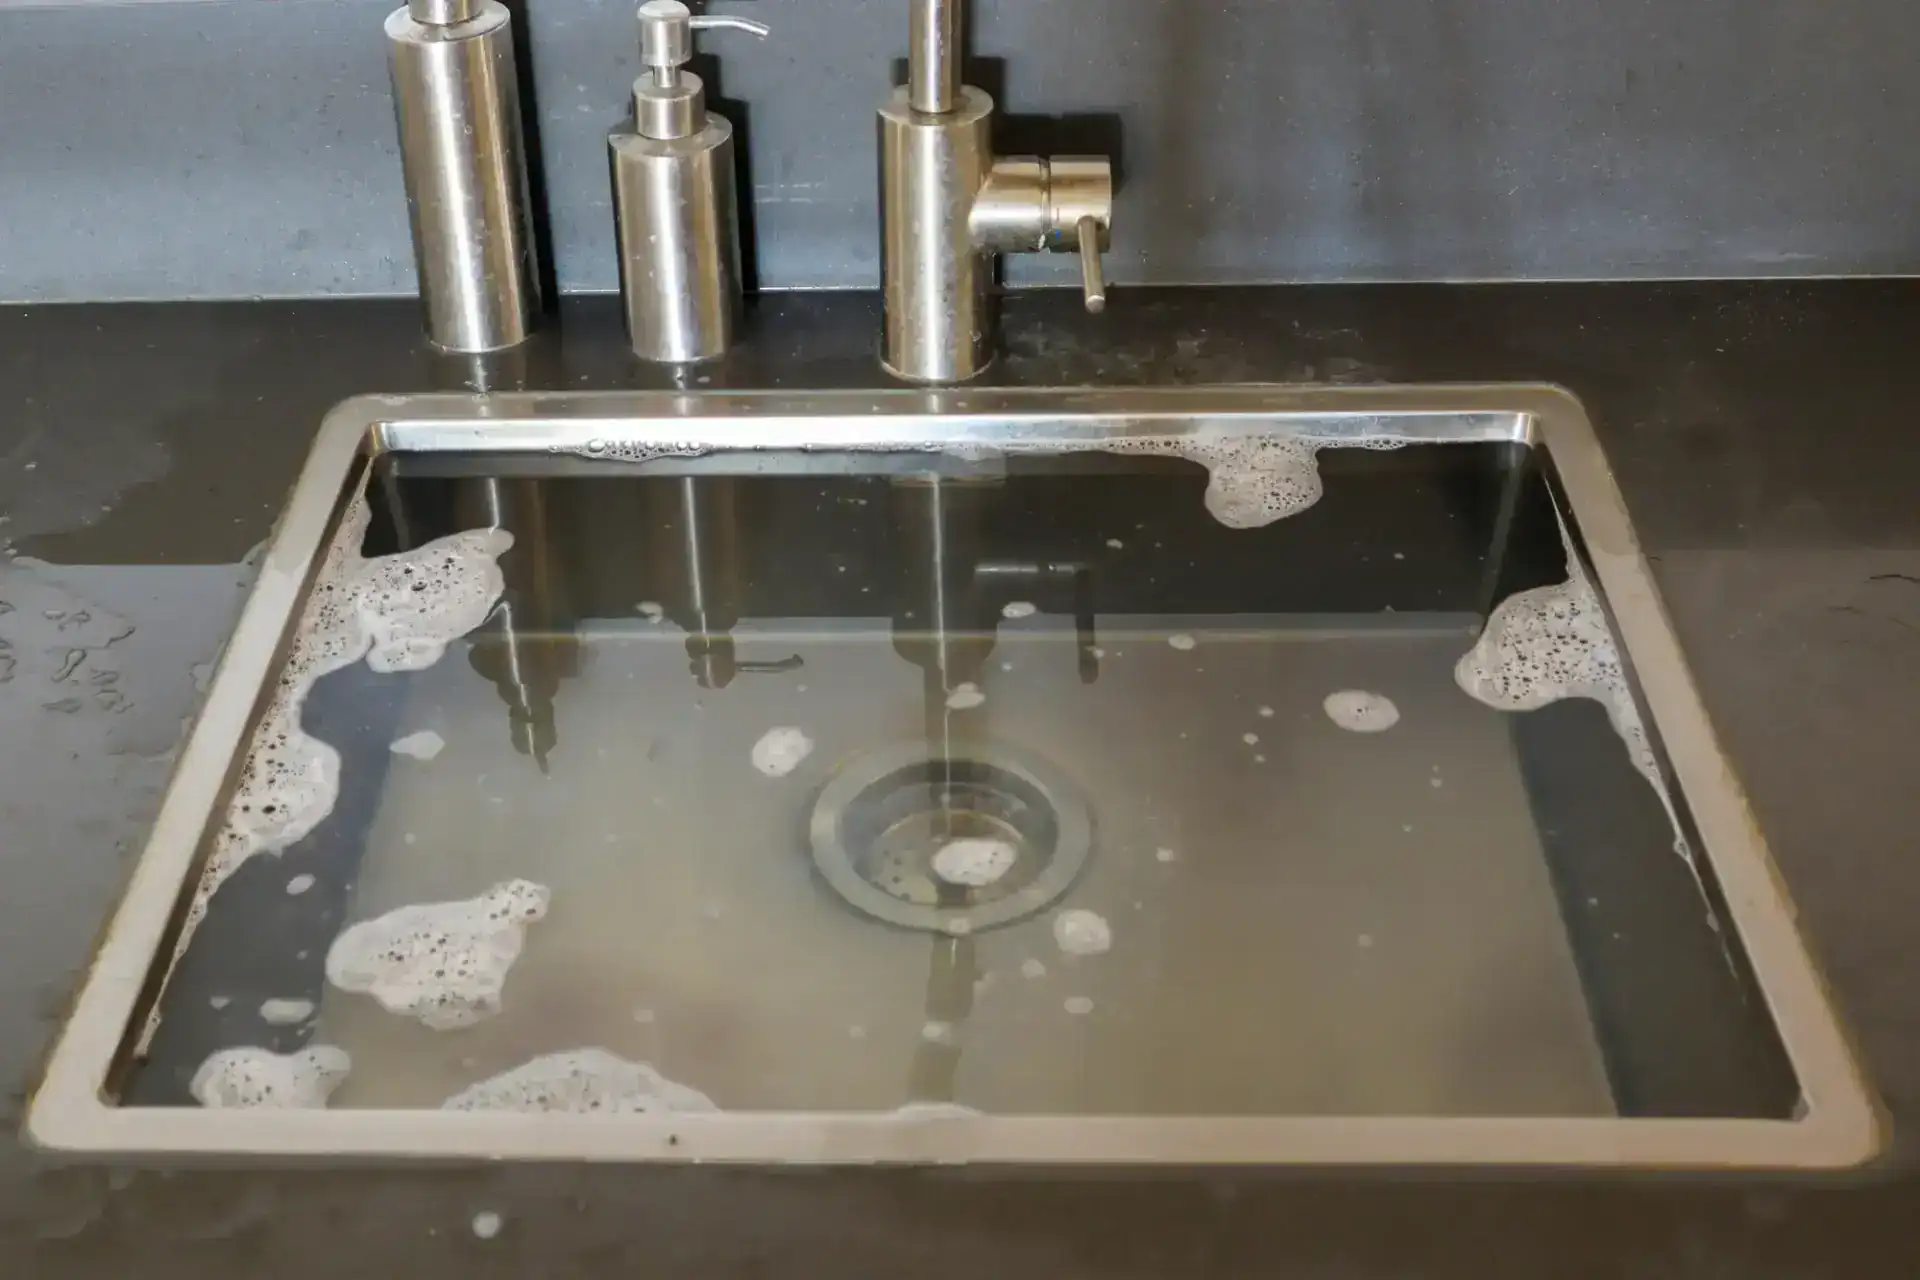
You may notice that during showers or dishwashing, there’s initially high water pressure that then drops off starkly. This inconsistent performance often indicates your PRV isn’t maintaining steady pressure levels throughout your home. One minute you’re enjoying a strong shower, the next you’re standing under a disappointing drizzle.
Extremely noisy pipes making hammering sounds while your water is running signal that water pressure is too high for your infrastructure to handle. These sounds aren’t just annoying—they’re warning signs of potential damage to your plumbing system. Your pipes are literally telling you something’s wrong.
High water pressure symptoms include unusually strong shower spray or fixtures spraying water with excessive force, while banging or whistling sounds indicate too much pressure flowing through your system, and sudden drops in water flow suggest your PRV may be too tight or blocked.
Other warning signs include frequent appliance repairs, persistent faucet leaks, and water around your meter area. If you notice water around your water meter, there may be an issue with your PRV. These problems compound quickly. What starts as minor annoyances can turn into major repair bills if you ignore them.
What You'll Need for DIY Pressure Testing
The beauty of pressure regulator testing lies in its simplicity. You’ll need to attach a water pressure gauge to an outdoor faucet, and these gauges are readily available online or in hardware stores. Basic tools include a wrench and a pressure gauge, which help you make precise adjustments and measure pressure levels accurately, ensuring a smooth process and preventing damage to the valve.
Most hardware stores carry threaded pressure gauges for under $15. Choose one that reads up to 100 PSI for residential use. You’ll also want a basic adjustable wrench if your gauge doesn’t thread directly onto your outdoor spigot.
The testing process works best with an outdoor faucet because it’s typically the closest connection point to your main water line and pressure regulator. PRVs are located near the shutoff valve on your main water supply line where water enters your house. This proximity gives you the most accurate reading of your system’s regulated pressure.
Make sure no one uses water inside your home during testing. Even a toilet refilling or someone washing hands can affect your pressure readings and give you false information about your PRV’s performance.
Want live answers?
Connect with a ATA's Plumbing expert for fast, friendly support.
Step-by-Step Pressure Regulator Testing Process
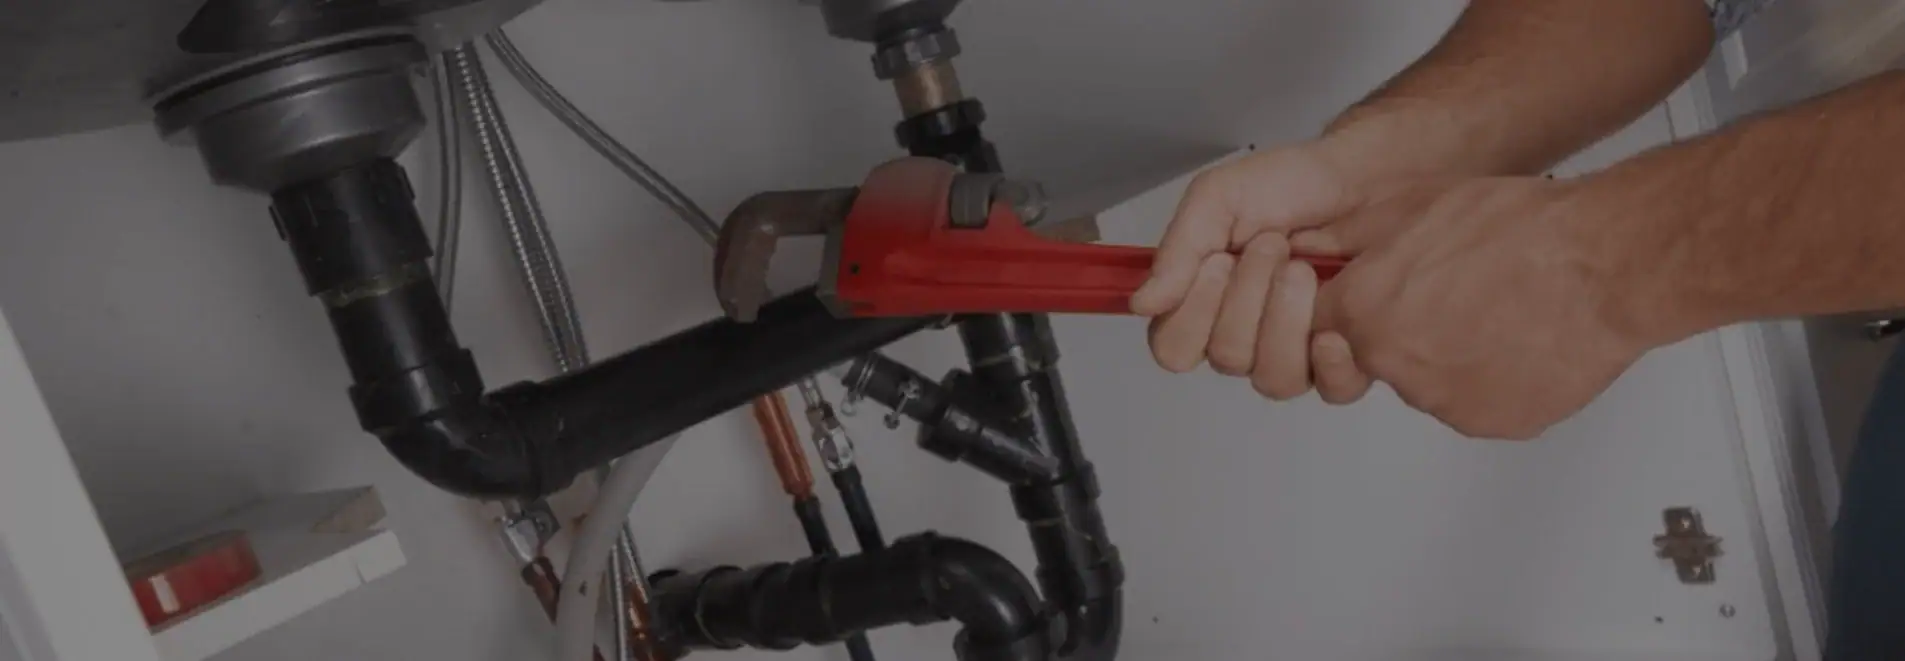
Start by locating your pressure regulator. Find the water pressure regulator on your supply line—it should look like a large brass bell sitting on more brass piping. A pressure reducing valve usually resembles a bell or dome, and you’ll usually see it alongside a gauge.
Thread your pressure gauge onto an outdoor faucet, ensuring a tight connection to prevent air leaks that could affect your reading. Turn the faucet fully open and wait for the gauge needle to stabilize. The standard setting for residential PRVs is usually between 40 and 60 PSI, with most homes operating efficiently around 50 PSI. This is your baseline for determining whether adjustments are needed.
Reading and Interpreting Your Pressure Results
Pressure less than 40 PSI should be turned up, while your home’s PSI should never be more than 60-65 PSI. If your gauge reads below 40 PSI, you’re likely experiencing the weak water flow that makes showers frustrating and affects appliance performance. Your dishwasher won’t clean properly. Your washing machine will take longer to fill.
Water heaters are typically capable of handling pressure lower than 80 PSI, while city officials consider pressure ranging from 40 to 100 PSI acceptable, but if pressure reaches the upper end of that range, it will damage not only your water heater but other appliances and pipes as well.
Readings above 65 PSI indicate your PRV isn’t reducing incoming pressure adequately. This puts stress on every fixture, appliance, and pipe in your home. Overly-high water pressure can create serious and costly trouble for your home, which is why water pressure-reducing valves are installed with city guidelines often keeping strict caps on water pressure to keep homes safe.
Document your pressure reading and test at different times of day. Municipal pressure can fluctuate, and your PRV should compensate for these changes. If you see significant variations—more than 10 PSI difference—your regulator may be failing to maintain consistent pressure control.
When DIY Adjustment Makes Sense vs. Calling a Professional
If your pressure-reducing valve is the source of your water pressure issues, a simple adjustment can fix your plumbing problems, though this valve can be easily adjusted by a professional plumber. Homeowners often make common mistakes when adjusting PRVs, with one frequent error being making large adjustments all at once, which can result in significant pressure changes that might stress your plumbing system.
For minor adjustments—raising pressure from 35 PSI to 45 PSI or lowering from 70 PSI to 60 PSI—careful DIY adjustment may work. Loosen the locknut with a wrench (the gray nut on top of the unit), then turn the bolt clockwise to increase pressure. Make small adjustments—a quarter turn can make a significant difference.
However, several situations require professional intervention. Low water pressure may indicate that your pressure-reducing valve is at the end of its lifespan and will stop working, requiring replacement rather than adjustment before restoring water pressure, which a plumber can inspect and determine. If you adjust the pressure using your PRV and the bolt on the valve breaks, it’s time to replace it.
Professional installation is recommended for any job involving accessing or adjusting your main water line, requiring a licensed plumber who has the knowledge and skills to ensure work is up to code. In Pasco County, FL, where many homes were built decades ago with aging infrastructure, professional assessment often reveals additional issues that DIY adjustments can’t address.
Customer Testimonials
Protecting Your Pasco County Home with Regular Pressure Monitoring
It’s recommended to check a PRV annually during regular maintenance, as regular checks help spot issues early, ensuring water pressure remains at optimal levels and preventing costly repairs. This simple annual test can prevent the emergency calls that happen when pressure regulators fail completely.
Your Pasco County, FL home faces unique challenges that make pressure monitoring especially important. Many neighborhoods have homes built before the 1980s where hard water causes mineral buildup that clogs pipes faster than other areas, and Florida’s humidity accelerates corrosion and leaks. Regular testing helps you catch problems before they become expensive disasters.
When testing reveals problems beyond simple adjustment—readings that won’t stabilize, broken adjustment mechanisms, or pressure that can’t be regulated properly—that’s when you need experienced professionals who understand local plumbing challenges. We have been serving Pasco County homeowners since 2013, with the licensing and experience to handle both simple adjustments and complete pressure regulator replacements when your DIY testing shows it’s time for professional intervention.
Article details:
- Published by:
- Published to:
- Last modified:
- February 27, 2026
Continue learning: